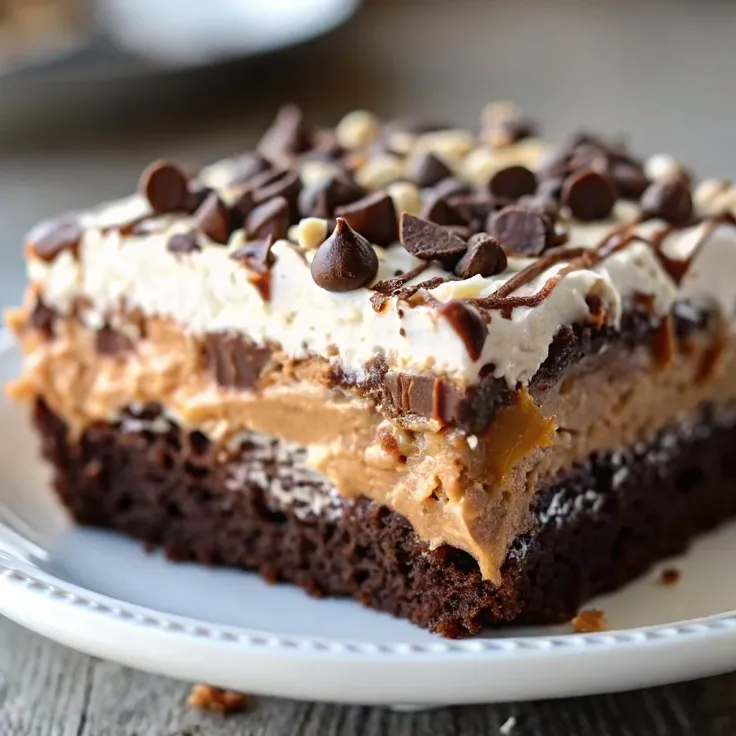
No-Bake Oreo Dessert: The Ultimate Creamy, Oreo-Packed Treat
There’s something so comforting about an easy dessert that doesn’t require any baking, and this No-Bake Oreo Dessert delivers just that. With layers of creamy goodness, crunchy Oreo crust, and rich chocolate pudding, this treat is perfect for satisfying your sweet tooth after a busy day or impressing friends at a gathering. It’s the kind of dessert that everyone will want to scoop up seconds of, and the best part? You can make it ahead of time with minimal effort. Whether it’s a lazy weekend or a last-minute party, this dessert always hits the spot!
Why You’ll Love This Recipe
- Creamy and Decadent: Each bite is a heavenly mix of creamy layers, crunchy Oreos, and smooth chocolate pudding that will leave your taste buds craving more.
- Quick and Easy: No baking involved! This dessert is super simple to make, especially for busy weeknights or spontaneous gatherings.
- Crowd-Pleaser: Whether you’re serving it at a family dinner, potluck, or casual get-together, it’s sure to become the star of the show.
- Versatile: You can easily customize this dessert to suit your preferences. Add extra chocolate, switch up the flavor of pudding, or even make it a bit spicier with a pinch of cinnamon!
- Make-Ahead: You can prepare this dessert the night before and let it chill, making it the perfect choice for when you need something quick but delicious for the next day.
Ingredients You’ll Need
- 1 pack (14 oz) Oreo cookies, crushed
- 6 tbsp melted butter
- 8 oz cream cheese, softened
- 1 cup powdered sugar
- 8 oz Cool Whip, thawed
- 1 box (3.9 oz) instant chocolate pudding mix
- 2 cups cold milk
- 1/2 tsp vanilla extract
- Extra crushed Oreos for topping
Step-by-Step Instructions
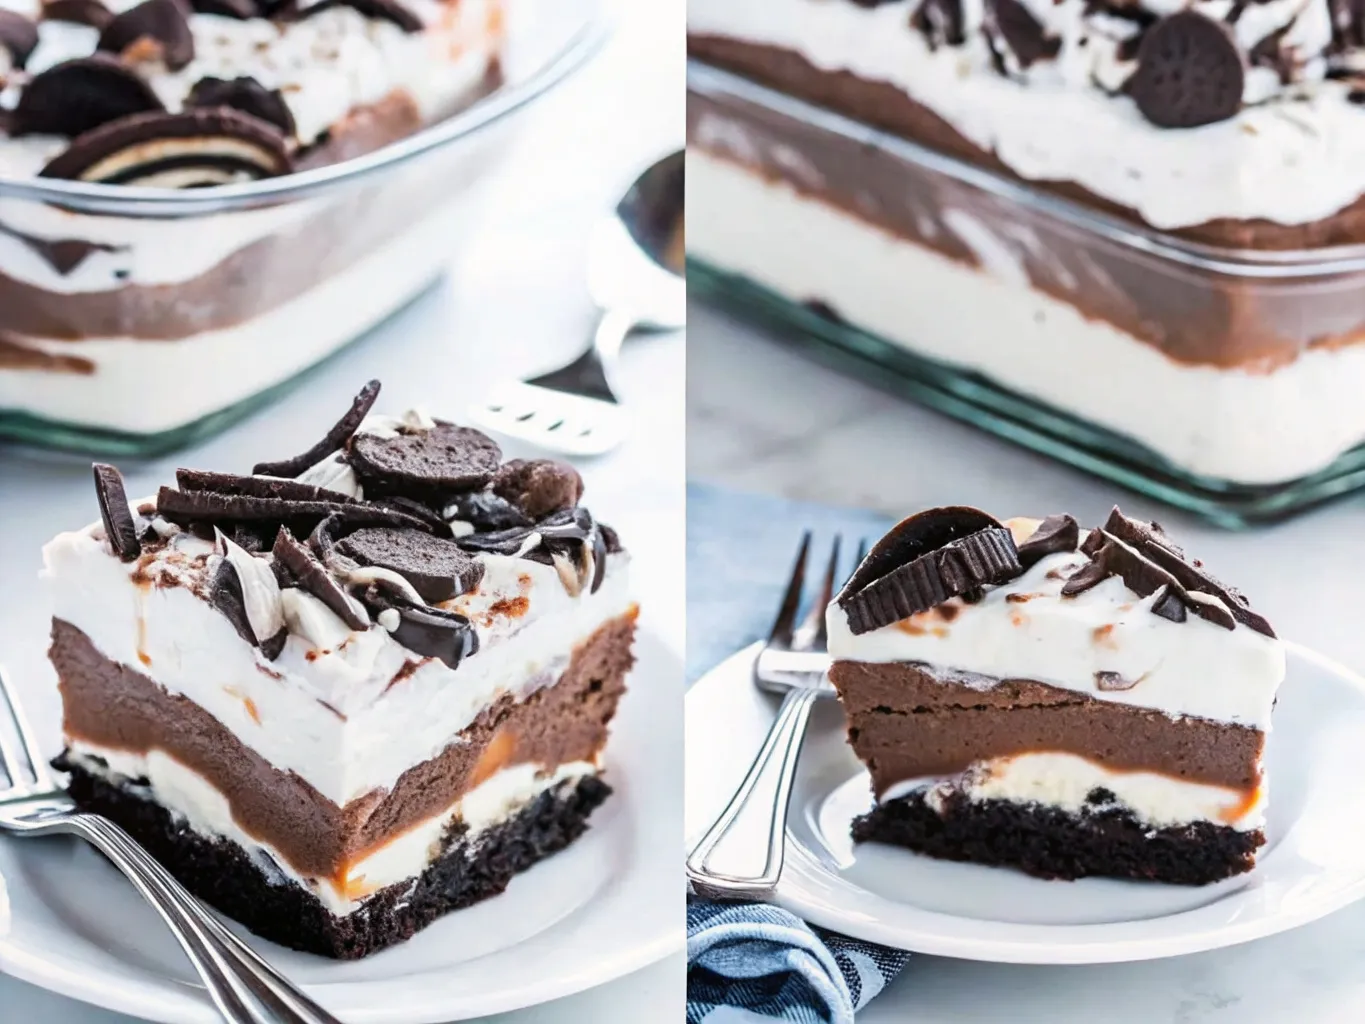
- Make the Oreo Crust: Start by crushing the Oreos into fine crumbs. You can use a food processor or just place them in a Ziploc bag and crush them with a rolling pin. Once crushed, mix the crumbs with melted butter until combined. Press this mixture into the bottom of a 9×13-inch dish to form a solid crust. Chill in the fridge while you prepare the next layers.
- Prepare the Cream Layer: In a separate mixing bowl, beat together the softened cream cheese and powdered sugar until smooth. Add the vanilla extract and beat again. Then, fold in half of the thawed Cool Whip to create a light, fluffy mixture. Once mixed, spread this cream layer evenly over the chilled Oreo crust.
- Make the Pudding Layer: In another bowl, whisk together the instant chocolate pudding mix and cold milk. Continue whisking for a couple of minutes until the pudding thickens up. Once it reaches a pudding-like consistency, carefully spread it over the cream layer.
- Top It Off: Spread the remaining Cool Whip over the pudding layer to create the final, smooth layer of creaminess. Sprinkle extra crushed Oreos on top for that signature crunch and a bit of extra Oreo flavor.
- Chill: Pop the dessert in the fridge and let it chill for at least 4 hours, or even better, overnight. The chilling time helps the layers set and meld together for the ultimate texture.
- Serve and Enjoy: Slice this creamy, Oreo-filled dessert into squares and serve cold. Every bite is a perfect balance of crunch, creaminess, and chocolate that will leave everyone coming back for more!
Variations
- Chocolate Pudding Swap: While the recipe calls for chocolate pudding, you can swap it out for vanilla or even a fun flavor like white chocolate pudding for a unique twist.
- Vegetarian-Friendly: This dessert is already vegetarian-friendly, but for an extra creamy texture, consider using a plant-based whipped topping and vegan cream cheese.
- Gluten-Free: Use gluten-free Oreos to make this dessert gluten-free and still packed with that classic Oreo flavor.
- Add Chocolate Syrup or Chips: Drizzle some chocolate syrup on top for an extra chocolaty kick or sprinkle mini chocolate chips for a fun texture.
- More Layers: Get creative by adding a layer of caramel or peanut butter between the pudding and Cool Whip layers for a sweet and salty combination.
How to Serve
This No-Bake Oreo Dessert is as versatile in serving as it is delicious. You can serve it in a casual family dinner setting, at a potluck, or even at a festive holiday gathering. For a more elegant presentation, serve in individual dessert cups or mason jars. Garnish each serving with additional Oreo crumbles or a drizzle of chocolate syrup to elevate the look. Pair it with a refreshing drink like iced tea or soda for a laid-back vibe, or offer it with some fresh berries for a bit of contrast against the richness of the dessert.
Recipe Tips
- Don’t Rush the Chilling Process: Be sure to give this dessert enough time to chill and set. If you cut into it too soon, the layers won’t hold together well, and you may miss out on the perfect texture.
- Use Softened Cream Cheese: Make sure your cream cheese is softened before mixing. This ensures it combines smoothly with the sugar and gives the cream layer its light, fluffy texture.
- Pudding Thickness: If the pudding seems too thin, give it a little extra time to thicken up before spreading it on the dessert. You can also whisk it for an additional minute or two to get the perfect consistency.
- Make It Ahead of Time: This dessert is perfect for making ahead of time. It keeps well in the fridge for a day or two, making it a great option for prepping ahead for events.
- Customize the Oreo Crust: If you’re feeling adventurous, try mixing in some other cookies for the crust, like chocolate graham crackers or even some crushed-up peanut butter cookies.
- Storage: Store leftovers in an airtight container in the fridge for up to 3 days. Be sure to enjoy it while it’s fresh for the best texture and flavor.
FAQs
Can I use a different type of pudding mix?
Yes! You can swap the chocolate pudding mix for vanilla, white chocolate, or even a flavored pudding mix like caramel for a twist.
Can I make this dessert without Cool Whip?
If you prefer, you can use whipped cream in place of Cool Whip. Just be sure to whip it until stiff peaks form before folding it into the cream cheese mixture.
How do I make this dessert less sweet?
You can reduce the amount of powdered sugar in the cream cheese layer or use a sugar substitute if you’re watching your sugar intake.
Can I freeze this dessert?
Yes! If you want to make it ahead of time for an event, this dessert can be frozen. Let it thaw in the fridge before serving, and it will taste just as delicious.
Conclusion
This No-Bake Oreo Dessert is the perfect treat for anyone looking for an easy, creamy, and indulgent dessert without turning on the oven. Whether you’re looking for a crowd-pleaser for your next gathering or just need a sweet pick-me-up, this dessert has got you covered. It’s simple, quick to make, and full of the rich flavors everyone loves.